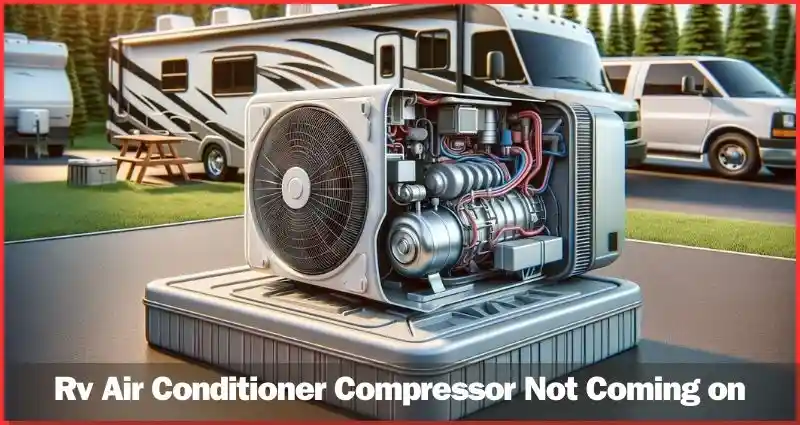
If your RV air conditioner compressor is not coming on, it could indicate a short if it beeps, or most likely a faulty run capacitor. This can be diagnosed and fixed by checking the start relays, circuit breaker, or power connection as possible causes for the issue.
When an RV air conditioner compressor fails to turn on, it can be frustrating, particularly in hot weather. Several reasons may cause this, so diagnosing the problem is crucial to finding a solution. It could be related to the start relays, circuit breakers, or power connectivity.
Additionally, issues such as a faulty capacitor, compressor motor, or low pressure lockout may also be the culprits. By identifying and resolving the underlying cause, you can ensure a comfortable and cool RV environment.
You May Like
- 【Parts Number】: The SPP6 Compressor Hard Start Booster Capacitor can…
- 【Replaces part numbers】: SPP6, TJ90HS6,AP4502872,35702, DST-6, ERPP6,…
- 【Superiority】: The solid-state relay and hard start capacitor no loose…
- 【Quality Guaranteed】: The replacement part is made from high quality…
- WIDE COMPATIBILITY WITH INSTALLATION KIT: Designed for RV air conditioners…
- QUIETER START-UPS: Experience quieter and smoother compressor start-ups…
- COMPACT DESIGN: The EasyStart 399 features a compact design that allows for…
- REDUCED STARTING CURRENT: This HVAC soft start kit for RV AC lowers the…
- 🚐❄️Efficient Cooling & Heating Performance – This 12V Rooftop Air…
- 🚐❄️Easy Installation – The A/C unit install at the skylight.Fits…
- 🚐❄️Weatherproof ABS Construction: The outer shell of car air…
- 🚐❄️Stable Performance: Compatible with 12V AC, this air conditioner…
- ADVANCED MICROAIR TECHNOLOGY: Micro-Air EasyStart Flex is the most advanced…
- IDEAL FOR HOME AND COMMERCIAL USE: Perfect for residential and commercial…
- COMPATIBILITY WITH GENERATORS: Specially engineered to work with…
- QUIET AND SMART PROTECTION: This soft starter for air conditioner reduces…
- Start up to a 20,000 BTU RV AC with a 2200 watt power inverter or generator…
- Generator Anti-Stall & Preload feature – Pre-empts any generator duress to…
- What’s in The Box?: Package includes 1 soft starter, 6 splice connectors, 1…
- THREE YEAR WARRANTY! Easy Install: With just three wires, you’ll be…
Common Symptoms Of A Compressor Failure

When your RV air conditioner compressor is experiencing problems, there are a few common symptoms that may indicate a compressor failure.
It’s important to be aware of these symptoms so that you can address the issue promptly and avoid further damage to your RV’s air conditioning system.
No Sound Or Humming From The Unit
If you switch on your RV air conditioner and notice that there is no sound or humming coming from the unit, this could indicate a potential compressor failure. While the fan may still operate, the lack of noise from the compressor suggests that it may not be functioning properly.
Fan Operates But Compressor Remains Silent
Another symptom of a compressor failure is when the fan of the air conditioner continues to operate, but the compressor remains silent. This indicates that the compressor is not engaging as it should, and there may be an issue with its functionality.
Circuit Breaker Tripping When Ac Is Turned On
If your RV’s circuit breaker consistently trips when you turn on the air conditioner, it could be a sign of a compressor failure. The compressor may be drawing too much current, causing the circuit to overload and trip.
Assessing Power Supply And Connections

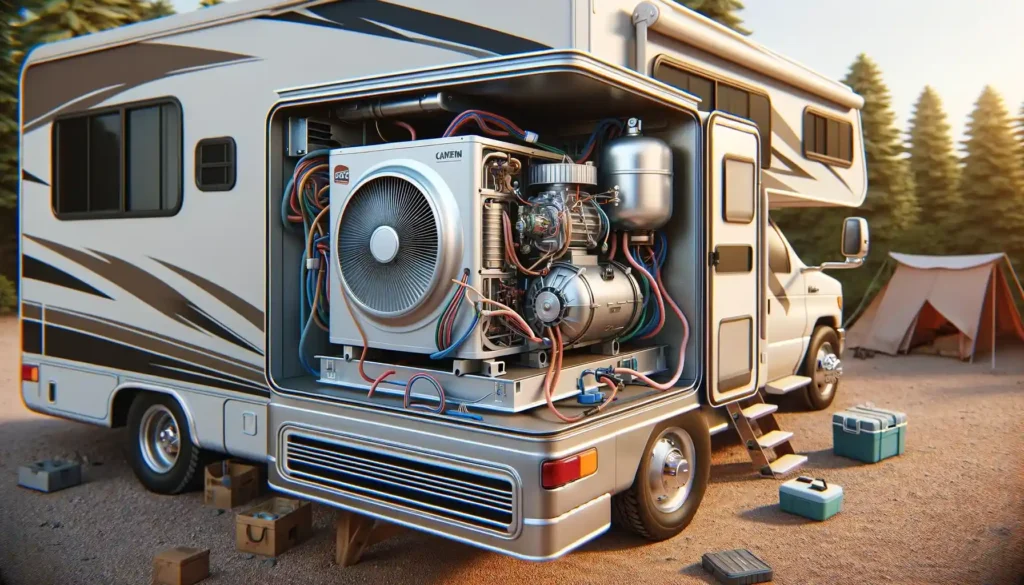
When the RV air conditioner compressor won’t come on, a common culprit could be a run capacitor or a short circuit. Checking the start relays and circuit breakers can provide insights into the issue, while also ensuring that the power supply is properly connected and not disconnected or discharged.
Regular maintenance and inspection can help identify and address potential issues promptly to keep the air conditioner functioning efficiently.
Ensuring Rv Is Properly Connected To Power Source
Always ensure that your RV is properly connected to a reliable power source before troubleshooting the air conditioner compressor issue.
Check the power cable for any signs of damage or wear. Ensure that the RV is receiving a consistent power supply to operate the air conditioning system effectively.
Checking Ac Unit’s Fuse Box And Circuit Breakers
Inspect the AC unit’s fuse box and circuit breakers to ensure that they are in good condition. Check for any tripped circuit breakers and replace any blown fuses.
Faulty or damaged fuses and circuit breakers can prevent the compressor from starting, causing the air conditioner to malfunction.
Inspecting Wiring For Potential Damage Or Disconnections
Thoroughly inspect the wiring connections of the RV air conditioning system for any potential damage, corrosion, or disconnections.
Ensure that all wiring connections are securely in place and that there are no visible signs of wear or damage. Faulty wiring can impede the flow of electricity to the compressor, leading to operational issues.
If the RV air conditioner compressor is not coming on, performing a comprehensive assessment of the power supply and connections is crucial to identifying and resolving potential issues.
By ensuring that the RV is properly connected to a reliable power source, checking the AC unit’s fuse box and circuit breakers, and inspecting the wiring for any damage or disconnections, you can effectively troubleshoot and address the compressor’s non-operation.
Evaluating The Air Conditioner’s Capacitor

If your RV air conditioner compressor isn’t coming on, it could be due to a faulty capacitor. Checking the start relays and circuit breaker or fuse might help diagnose the issue. Ensure the unit is receiving power, and inspect the wiring for any faults to fix this problem easily.
Identifying Signs Of Capacitor Failure
A malfunctioning air conditioner compressor may indicate a faulty capacitor. Common signs of capacitor failure include intermittent cooling, reduced airflow, or unusual noises emanating from the AC unit. When these symptoms arise, it’s crucial to inspect the capacitor to potentially rectify the issue.
Step-by-step Guide For Capacitor Inspection
Inspecting the capacitor is a vital step in troubleshooting an RV air conditioner compressor that refuses to start. Follow this step-by-step guide to rigorously assess the capacitor and address any impending issues:
- First, ensure safety by disconnecting the power supply to the RV air conditioner.
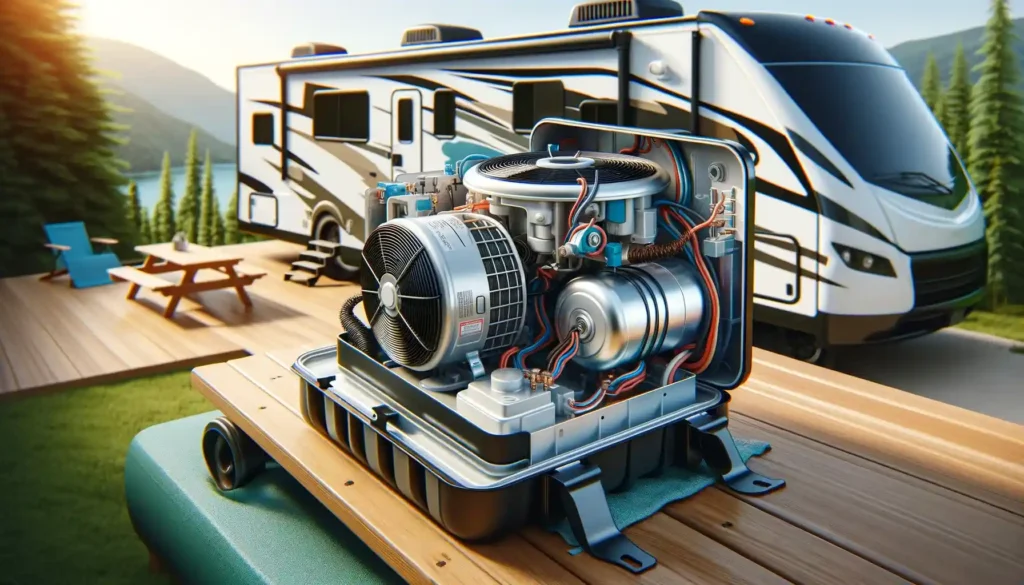
- Locate the capacitor within the AC unit; it’s typically a cylindrical or oval-shaped component with wires attached.
- Visually examine the capacitor for any bulges, leaks, or discoloration, signifying potential damage.
- Using a multimeter, measure the capacitor’s capacitance and resistance to verify if it falls within the manufacturer’s specifications.
- If the capacitor shows irregular capacitance readings or doesn’t hold a charge, it may necessitate replacement to restore the compressor’s functionality.
By meticulously conducting these steps, you can effectively evaluate the air conditioner’s capacitor and address potential issues that may be impeding the compressor’s operation.
Resetting The Ac System
When your RV air conditioner’s compressor fails to come on, it can be a frustrating experience, especially during hot weather. However, there are several troubleshooting steps you can take to reset the AC system and get it running smoothly again.
Guide To Safely Resetting The Air Conditioner Unit
Resetting the AC system involves several steps to ensure that the compressor starts functioning properly again. Here’s a guide to help you safely and effectively reset your RV air conditioner:
- Turn off the power supply to the AC unit at the main electrical panel or shut off the generator if using one.
- Wait for at least 5-10 minutes to allow the system to reset itself.
- Turn the power supply back on and set the thermostat to the desired temperature.
- Listen for the sound of the compressor coming on and feel for the cool air from the vents.
- If the compressor still does not come on, you may need to check for other issues such as tripped circuit breakers or faulty relays.
Troubleshooting Thermostat Issues
The thermostat plays a crucial role in controlling the operation of the AC system. If the compressor is not coming on, it may be due to thermostat issues. Here are a few troubleshooting steps to tackle thermostat-related problems:
- Check the thermostat settings to ensure they are properly configured for cooling mode.
- Replace the thermostat batteries if they are low, as this can cause the system to malfunction.
- Inspect the thermostat wiring for any loose connections or damage, and rewire if necessary.
- If the issue persists, consider consulting a professional RV technician to diagnose and resolve the thermostat problems.
Replacing Faulty Start Relays

If you’re dealing with an RV air conditioner compressor not coming on, one common culprit is a faulty start relay. It’s important to check the start relays and the circuit breaker or fuse to diagnose the issue and replace any faulty components as needed.
This simple fix can get your RV air conditioner compressor up and running again in no time.
How To Locate And Test Start Relays
Before replacing the start relay in your RV air conditioner compressor, it’s important to locate and test it to ensure that it is indeed the source of the problem.
Here’s how to locate and test start relays:
- First, switch off the power supply to your RV air conditioner.
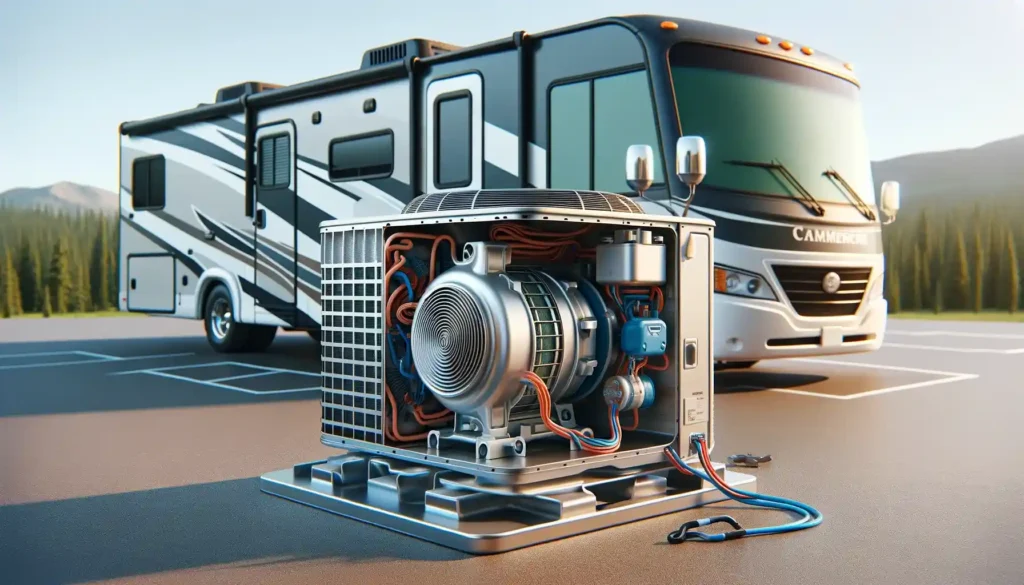
- Locate the start relay, which is typically found on the side of the compressor unit.
- Using a multimeter, set it to the resistance (ohm) setting and test the relay for continuity. If there is no continuity, it indicates a faulty relay.
Detailed Instructions For Relay Replacement
Once you have confirmed that the start relay is indeed faulty, you can proceed with replacing it. Here are the detailed instructions:
- First, acquire a replacement start relay that is compatible with your RV air conditioner model.
- Switch off the power supply to the air conditioner to ensure safety.
- Remove the access panel to gain access to the compressor unit.
- Lay out the replacement relay next to the faulty one, making note of the wiring connections.
- Carefully detach the wiring from the faulty relay, taking note of the orientation of the wires.
- Connect the wires to the replacement relay in the same way they were connected to the faulty one.
- Secure the replacement relay in place, ensuring it is firmly attached to the compressor unit.
- Replace the access panel, and switch on the power supply to test the operation of the new relay.
Addressing Overheating Problems
If your RV air conditioner compressor is not coming on, overheating may be the root cause. Overheating can occur due to poor ventilation and lack of maintenance.
To resolve these issues, you will need to identify poor ventilation problems and clean and maintain the cooling coils. Let’s delve into each of these aspects to help you address the overheating problems in your RV air conditioner.
Identifying Poor Ventilation Issues
Poor ventilation can lead to the overheating of your RV air conditioner compressor. When the unit is not properly ventilated, it struggles to release the heat generated during the cooling process, causing the compressor to malfunction.
To ensure proper ventilation and prevent overheating, consider the following steps:
- Check for any obstructions around the air conditioner unit, such as leaves, debris, or external objects that may hinder airflow.
- Inspect the air intake and exhaust vents to ensure they are not blocked or restricted.
- Position your RV in a way that allows for adequate air circulation around the air conditioner unit.
Cleaning And Maintaining Cooling Coils
The cooling coils play a crucial role in the heat exchange process within your RV air conditioner. Over time, these coils can accumulate dirt, dust, and debris, leading to reduced airflow and inefficient heat dissipation.
To prevent overheating related to dirty cooling coils, follow these cleaning and maintenance steps:
- Turn off the RV air conditioner and disconnect the power source before performing any maintenance.
- Use a soft brush or vacuum cleaner to gently remove debris and dirt from the cooling coils.
- Inspect and clean the fins of the coils to ensure unrestricted airflow.
- Consider using a coil cleaner or mild detergent solution to remove stubborn dirt and grime, followed by a thorough rinse with water.
- Regularly schedule maintenance to keep the cooling coils clean and free from obstructions.
Professional Solutions And When To Seek Help
Experiencing issues with your RV air conditioner compressor not coming on? It’s essential to seek professional solutions if the problem persists.
Consider checking the start relays, circuit breakers, or fuses for potential fixes. If the issue continues, expert help may be necessary to diagnose and rectify the problem effectively.
Understanding When Diy Fixes Aren’t Enough
When dealing with an RV air conditioner compressor not coming on, it’s essential to recognize when DIY fixes may not resolve the issue adequately.
While simple problems such as tripped circuit breakers can often be remedied independently, more intricate issues like faulty capacitors or compressor motors may require professional intervention.
Recommendations For Finding Qualified Rv Repair Services
When searching for qualified RV repair services to address air conditioner compressor issues, it’s crucial to prioritize expertise and reliability.
Consider seeking recommendations from fellow RV enthusiasts or consulting online reviews to identify reputable professionals who specialize in air conditioning system repairs for recreational vehicles.
Additionally, ensure that the chosen RV repair service possesses the necessary certifications and experience in diagnosing and resolving air conditioner compressor malfunctions.
By entrusting the repair to qualified professionals, RV owners can effectively mitigate further damage and enjoy a properly functioning air conditioning system for their travels.
Frequently Asked Questions On Rv Air Conditioner Compressor Not Coming On
What Would Cause An Ac Compressor To Not Turn On?
Several factors can prevent an AC compressor from starting, such as a blown fuse, faulty capacitor, or compressor motor problems.
Additionally, issues like low pressure lockout, poor ground, or a bad clutch coil can also hinder compressor engagement. Regularly check for power supply and seek professional help if issues persist.
Why Wont My Ac Compressor Cycle On?
There are various reasons why your AC compressor may not be cycling on. It could be due to a faulty capacitor, a tripped circuit breaker, or an issue with the power supply. Ensure proper ventilation and check for overheating to troubleshoot the problem.
Why Won’t My Ac Compressor Engage?
The AC compressor may not engage due to a faulty run capacitor or low pressure lockout. Other causes include a blown fuse, poor ground, or a bad clutch coil. Ensure the unit has power and check for wire or battery issues if the compressor won’t start.
Why Is My Rv Ac Not Kicking On?
If your RV AC is not kicking on, it may be due to a faulty run capacitor or overheating compressor. Check the start relays, circuit breaker, and ventilation. Ensure the power supply and inspect the wires connecting the units. If issues persist, seek professional assistance to diagnose and fix the problem.
Conclusion
In troubleshooting an RV air conditioner compressor that won’t come on, various potential causes have been outlined, including issues with the start relays, circuit breakers, or fuses. From diagnosis to solutions, understanding the underlying reasons for the problem is essential.
Conducting a thorough inspection and understanding common issues will help you effectively fix the problem and ensure your RV’s air conditioner runs smoothly.


